
INTRODUCTION
Being a business analyst before I become a food blogger, I like to do research if times permit. Therefore, readers who read my blog may be wondering why I like to quote Wikipedia’s definition. Seriously, I like Wikipedia’s concise definition on the food that I blogged about and at times I will use it as a benchmark against the food that I made. The same applies for today’s pastry, apple pie.
Per Wikipedia’s http://en.wikipedia.org/wiki/Apple_pie,
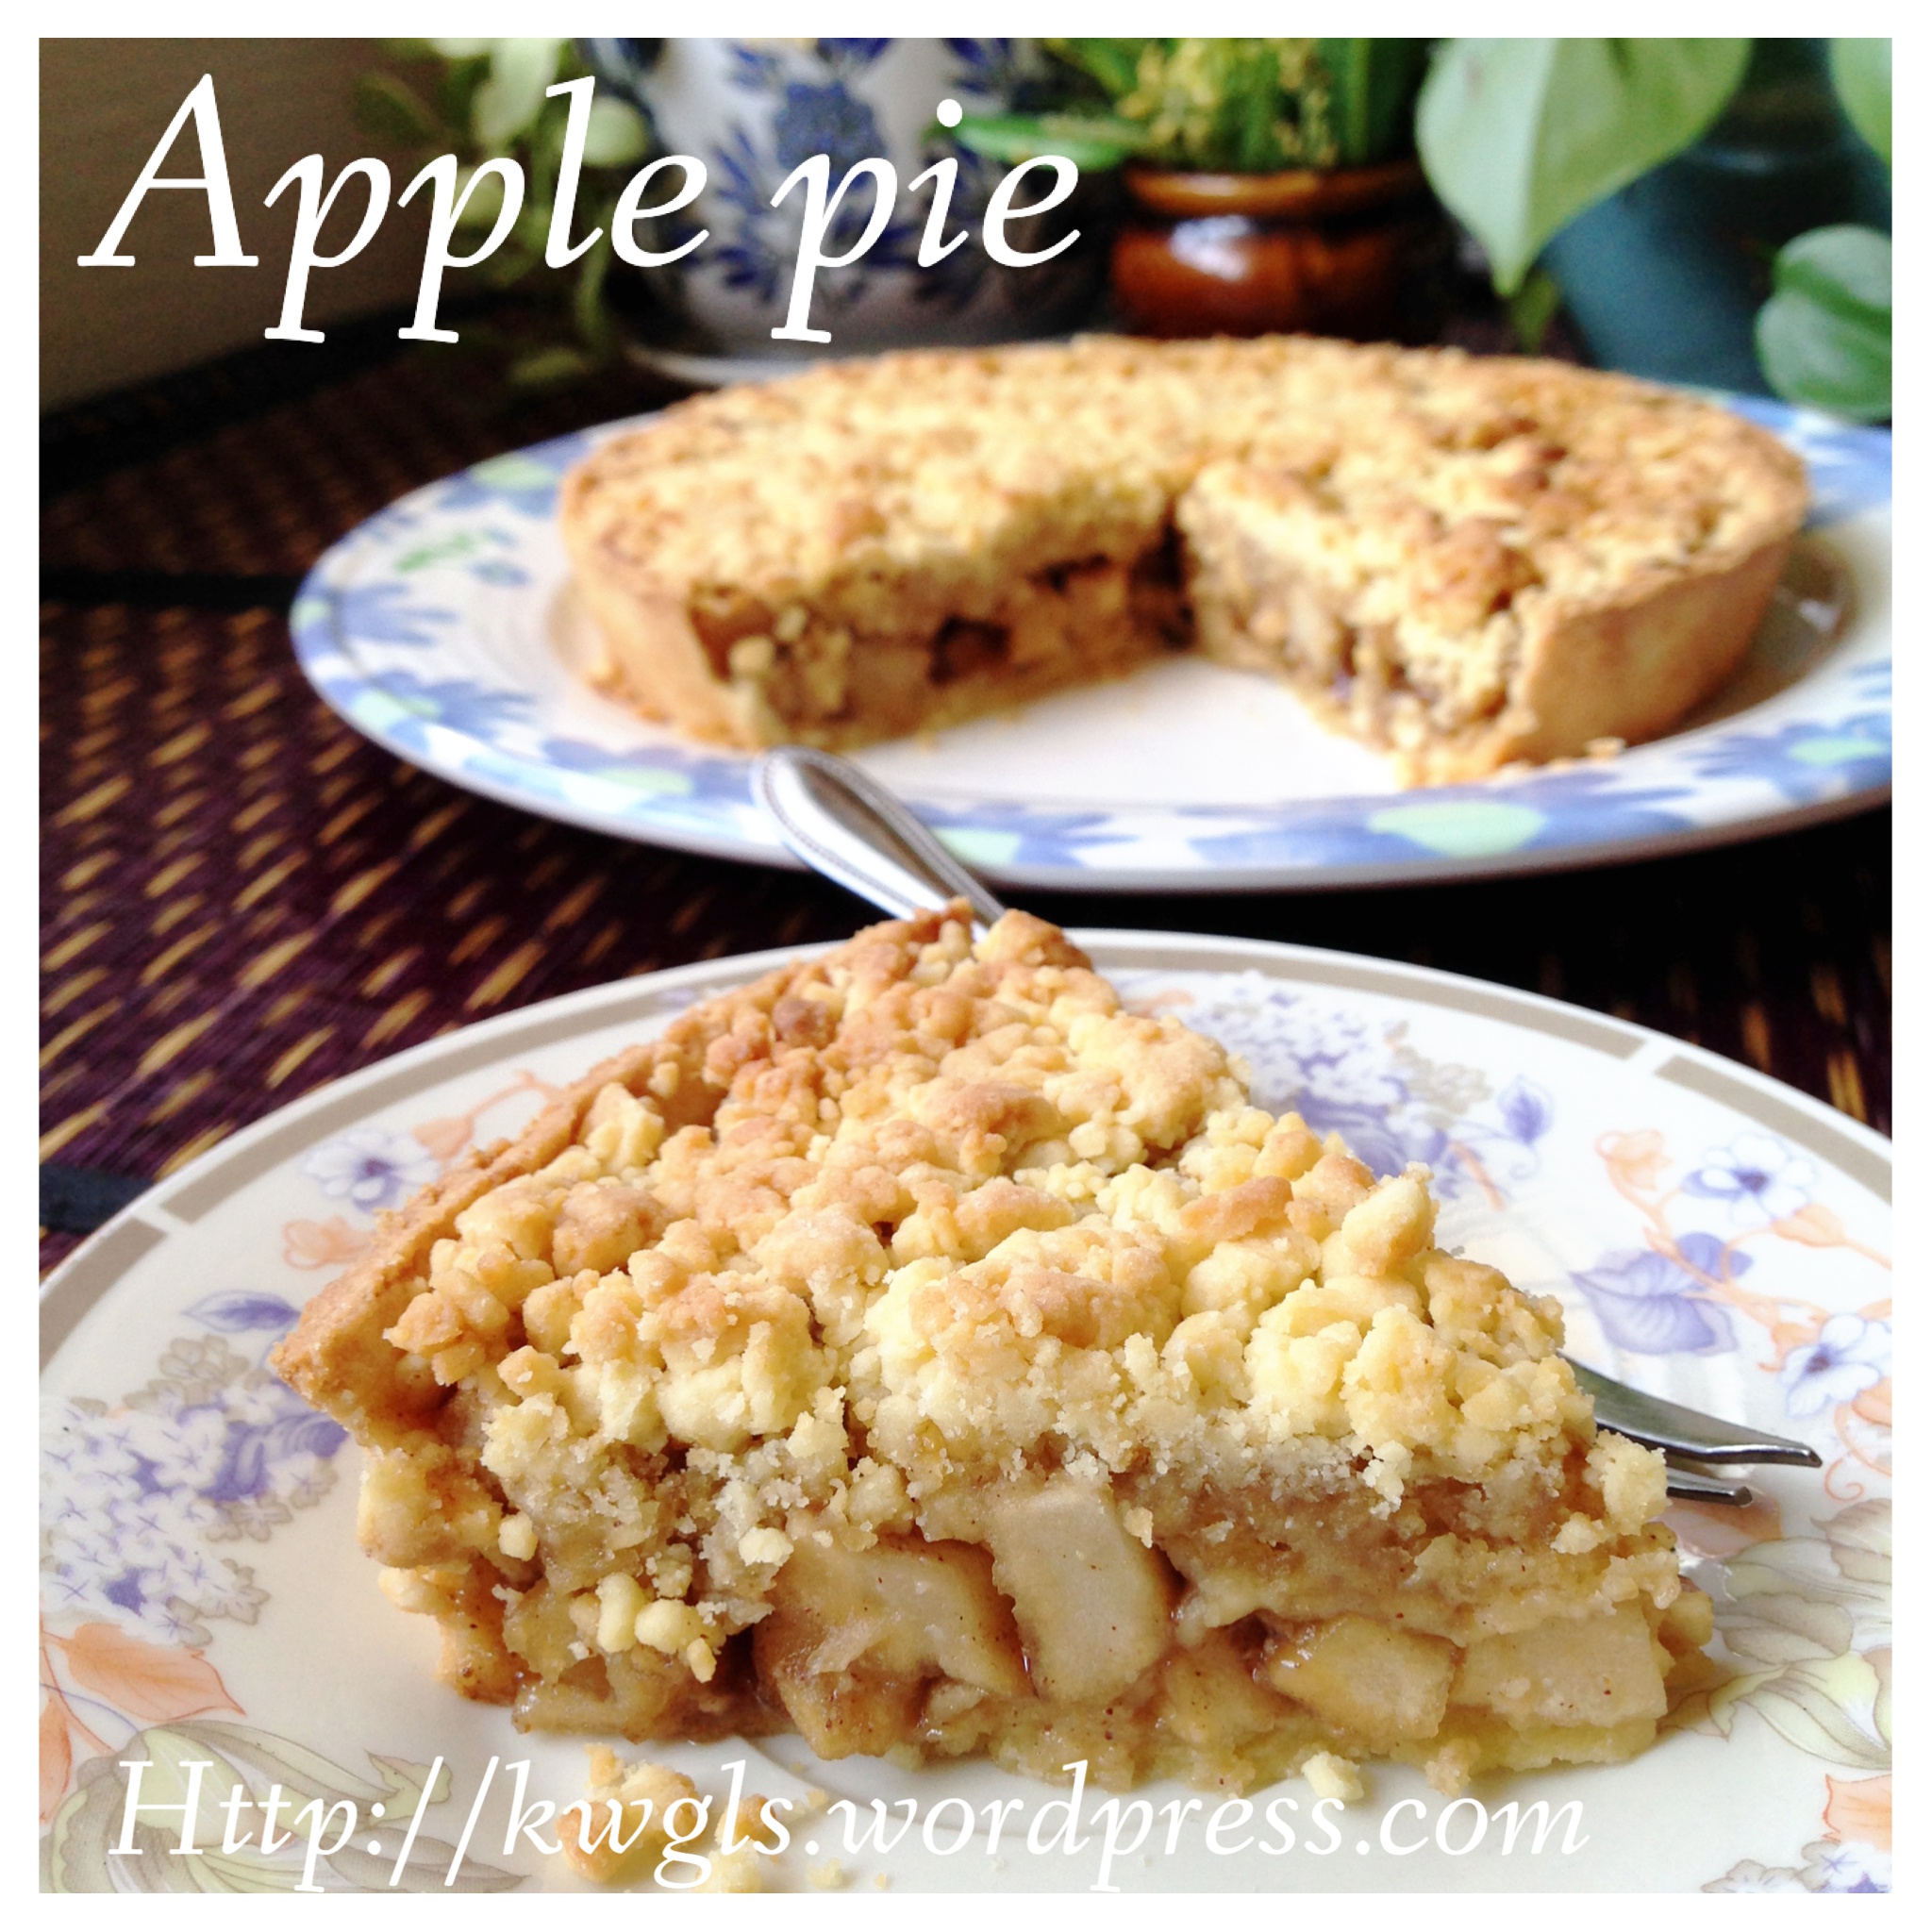
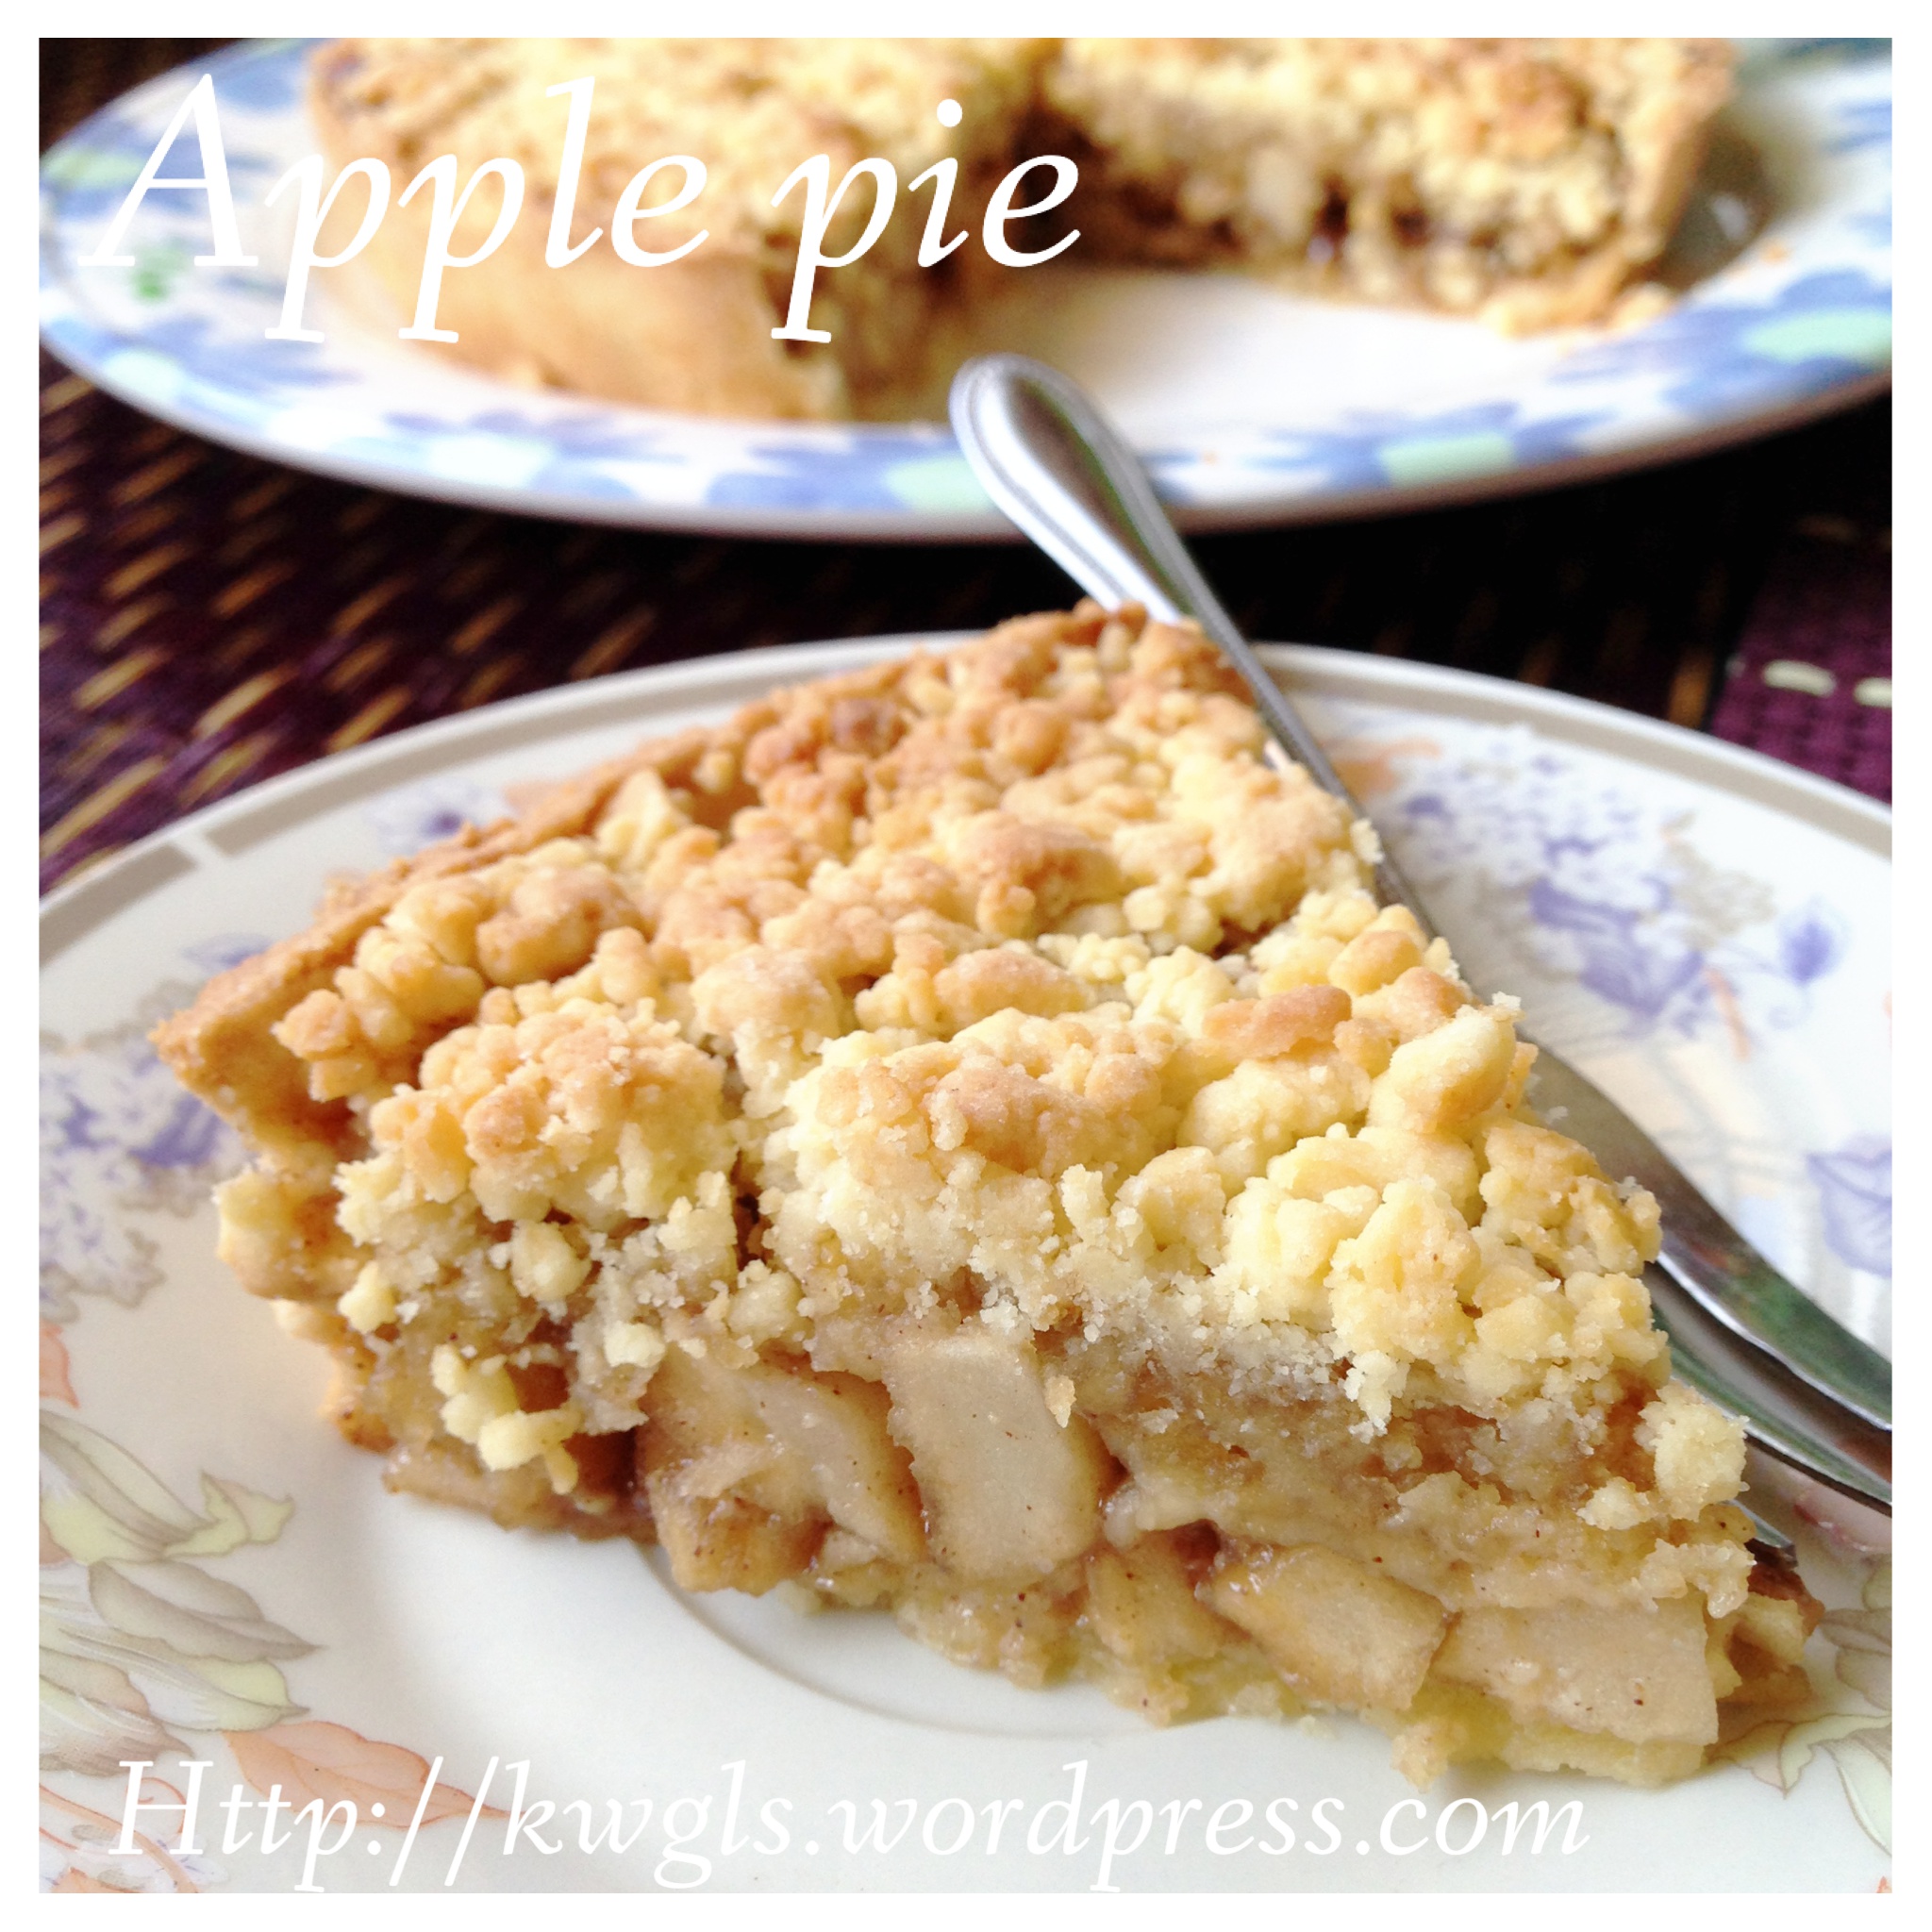
“An apple pie is a fruit pie (or tart) in which the principal filling ingredient is apples. It is sometimes served with whipped cream or ice cream on top, or alongside cheddar cheese. Pastry is generally used top-and-bottom, making it a double-crust pie, the upper crust of which may be a circular shaped crust or a pastry lattice woven of strips; exceptions are deep-dish apple pie with a top crust only, and open-face Tarte Tatin.”

I have made an apple pie yesterday. When I was chatting with a friend in Google plus about my red dragon fruit cheesecake, he was asking me if I know how to make an apple pie. I told him that I have not prepared before as apples are rather expensive. Unlike Western countries, most apples were imported from temperate countries. However, I have tasted apple pies before and it should not be a big problem for me to replicate the apple pie that I have eaten before.
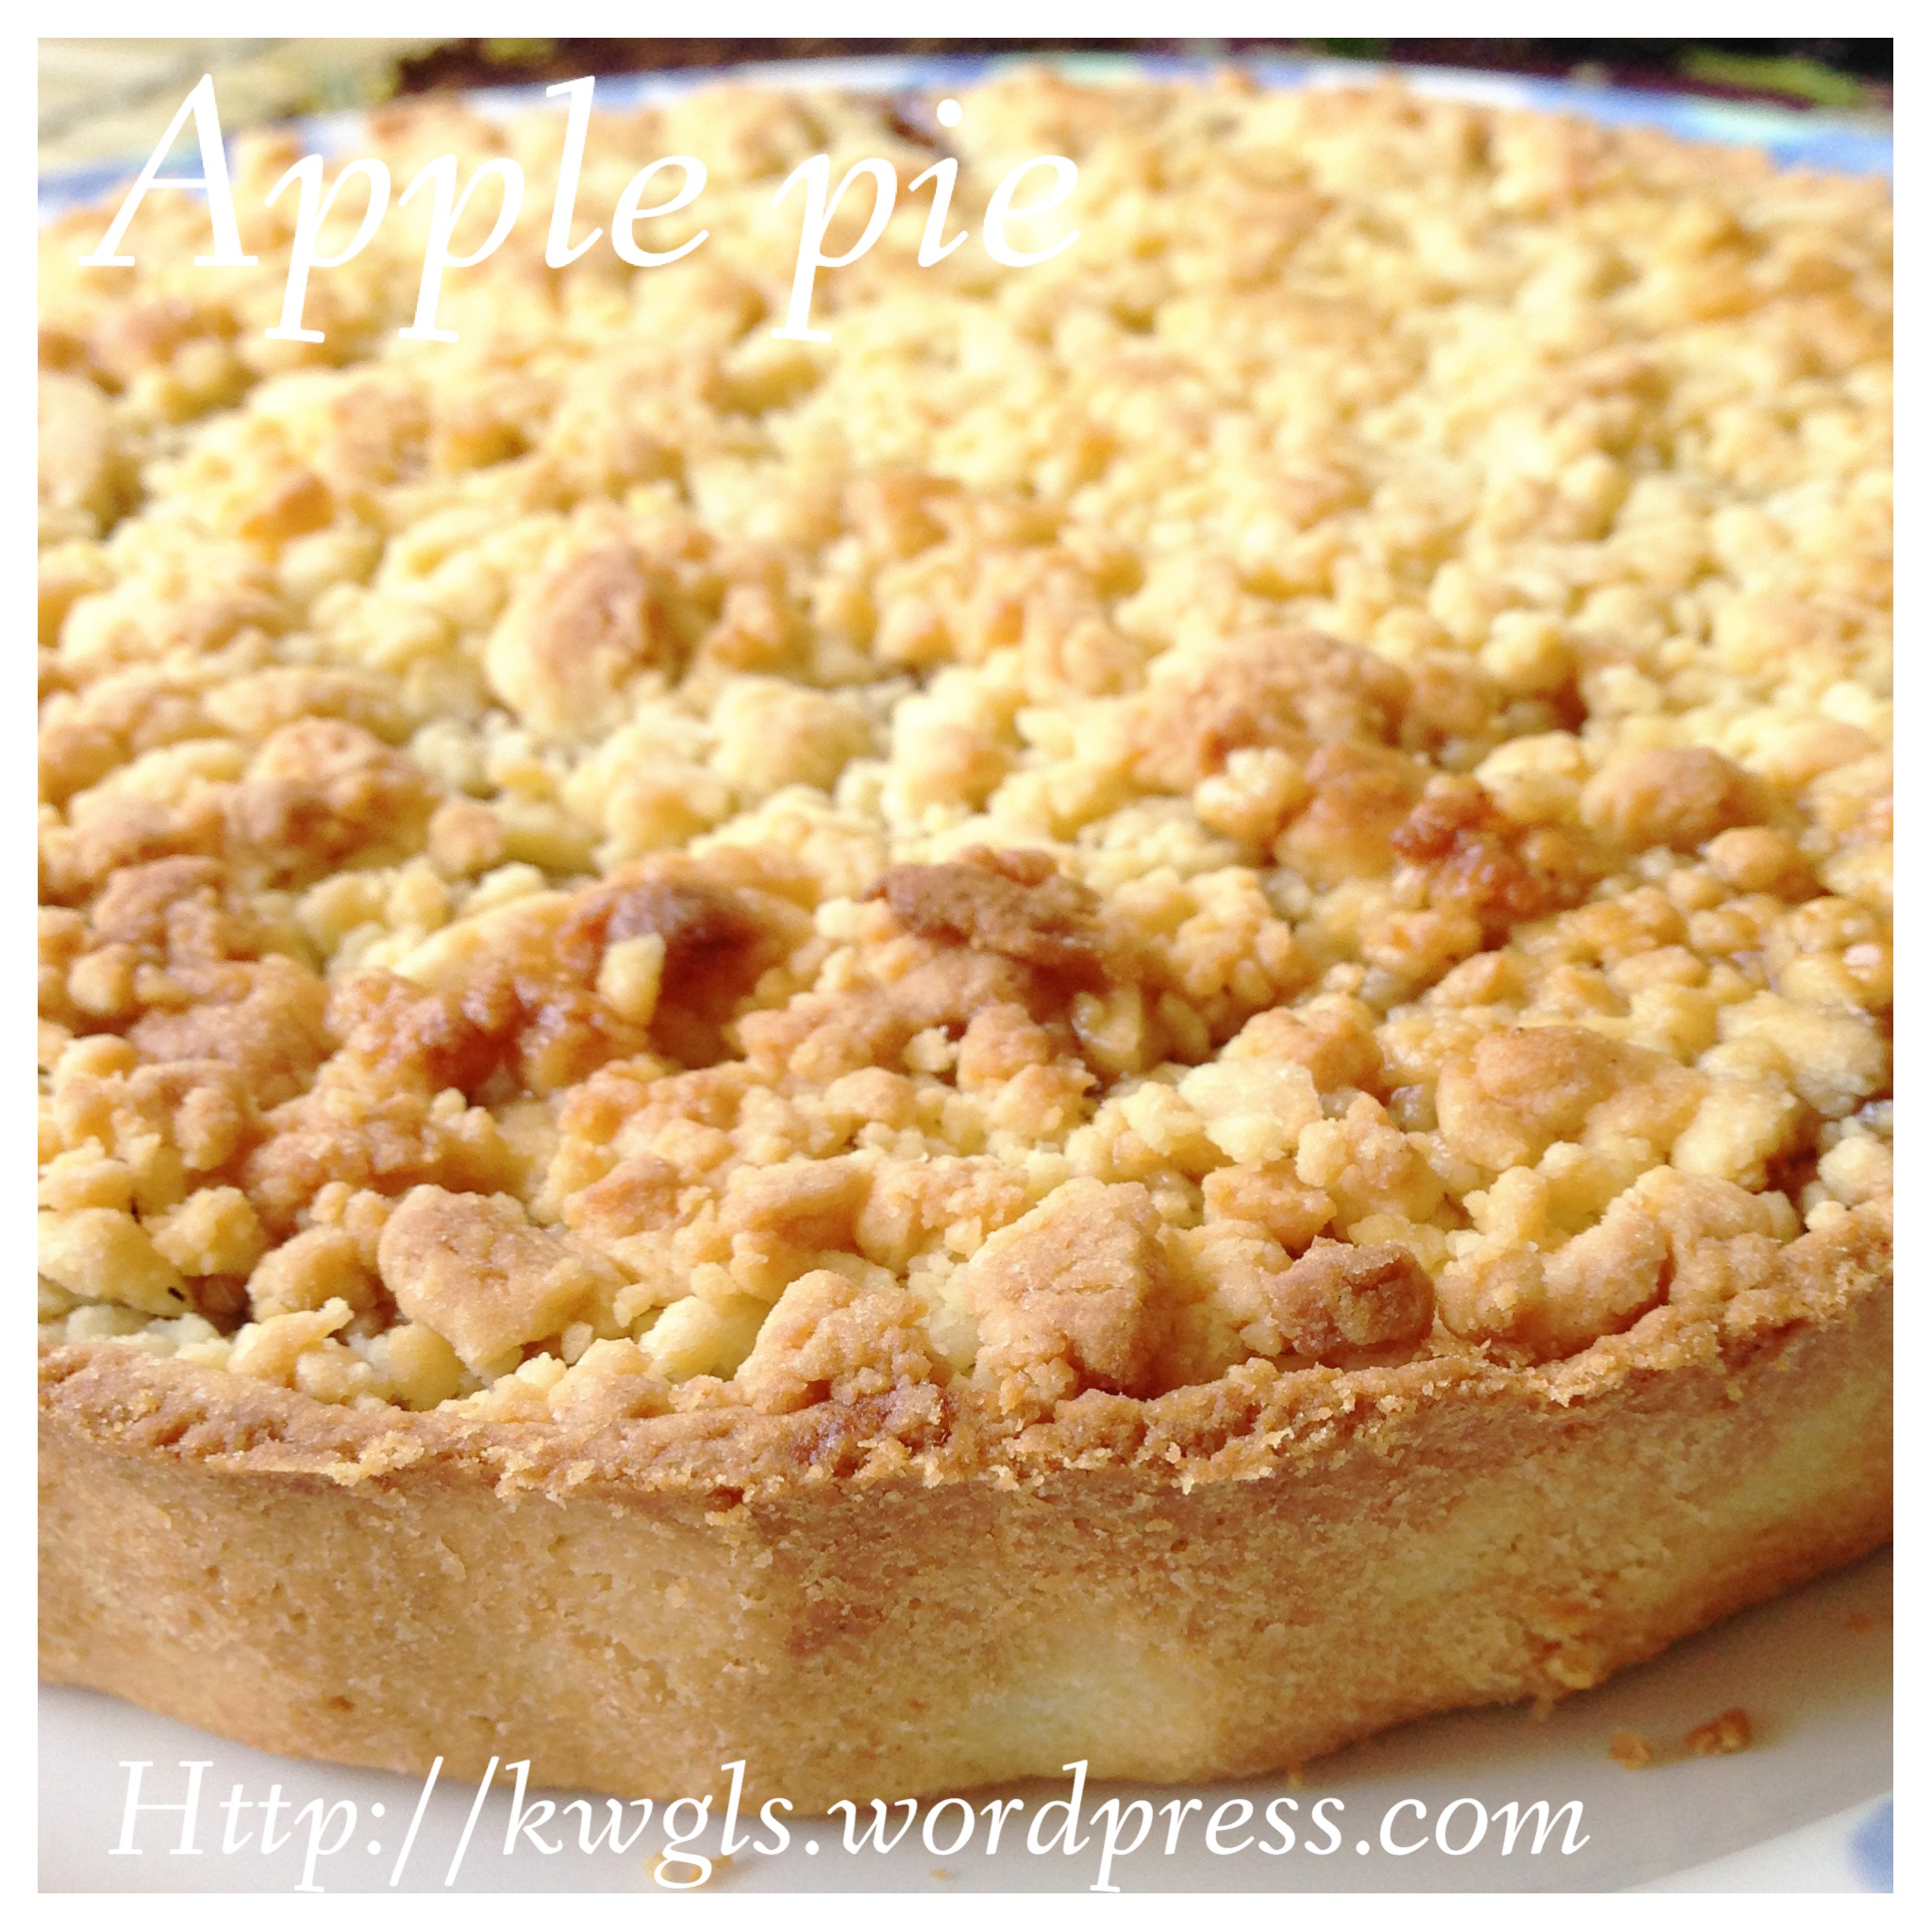
Actually, the apple pie that I am most familiar with are those sold in McDonalds. However, those pies were deep fried and what I am going to share in this post is the modified version of baked apple pie to suit Asian Foodies’ smaller appetite for sweet desserts… Pardon me if I am wrong..


WHAT IS REQUIRED
Dough – make one 8 inch pie without top pastry

-
35 grams egg (lightly beaten)
-
150 grams plain flour (sifted)
-
30 grams of icing sugar (sifted)
-
75 grams of chilled butter cut into cubes
-
1 teaspoon of vanilla essence.
Note: If you want to cover the entire pie with top pastry, you will have to multiply by 1.5 times the above volume. The above volume did not intend to have a upper pie crust like American style apple pie.
Apple Fillings

-
4 large apples (de-skin, pitted and cut into 0.5 cm slices)
-
half cup of brown sugar
-
1/2 teaspoon of cinnamon powder
-
1/2 teaspoon of nutmeg powder
Note:
-
Selection of apples – Apples selected shall be those that are crunchy in texture such as Fuji Apple or Granny’s green apple.
-
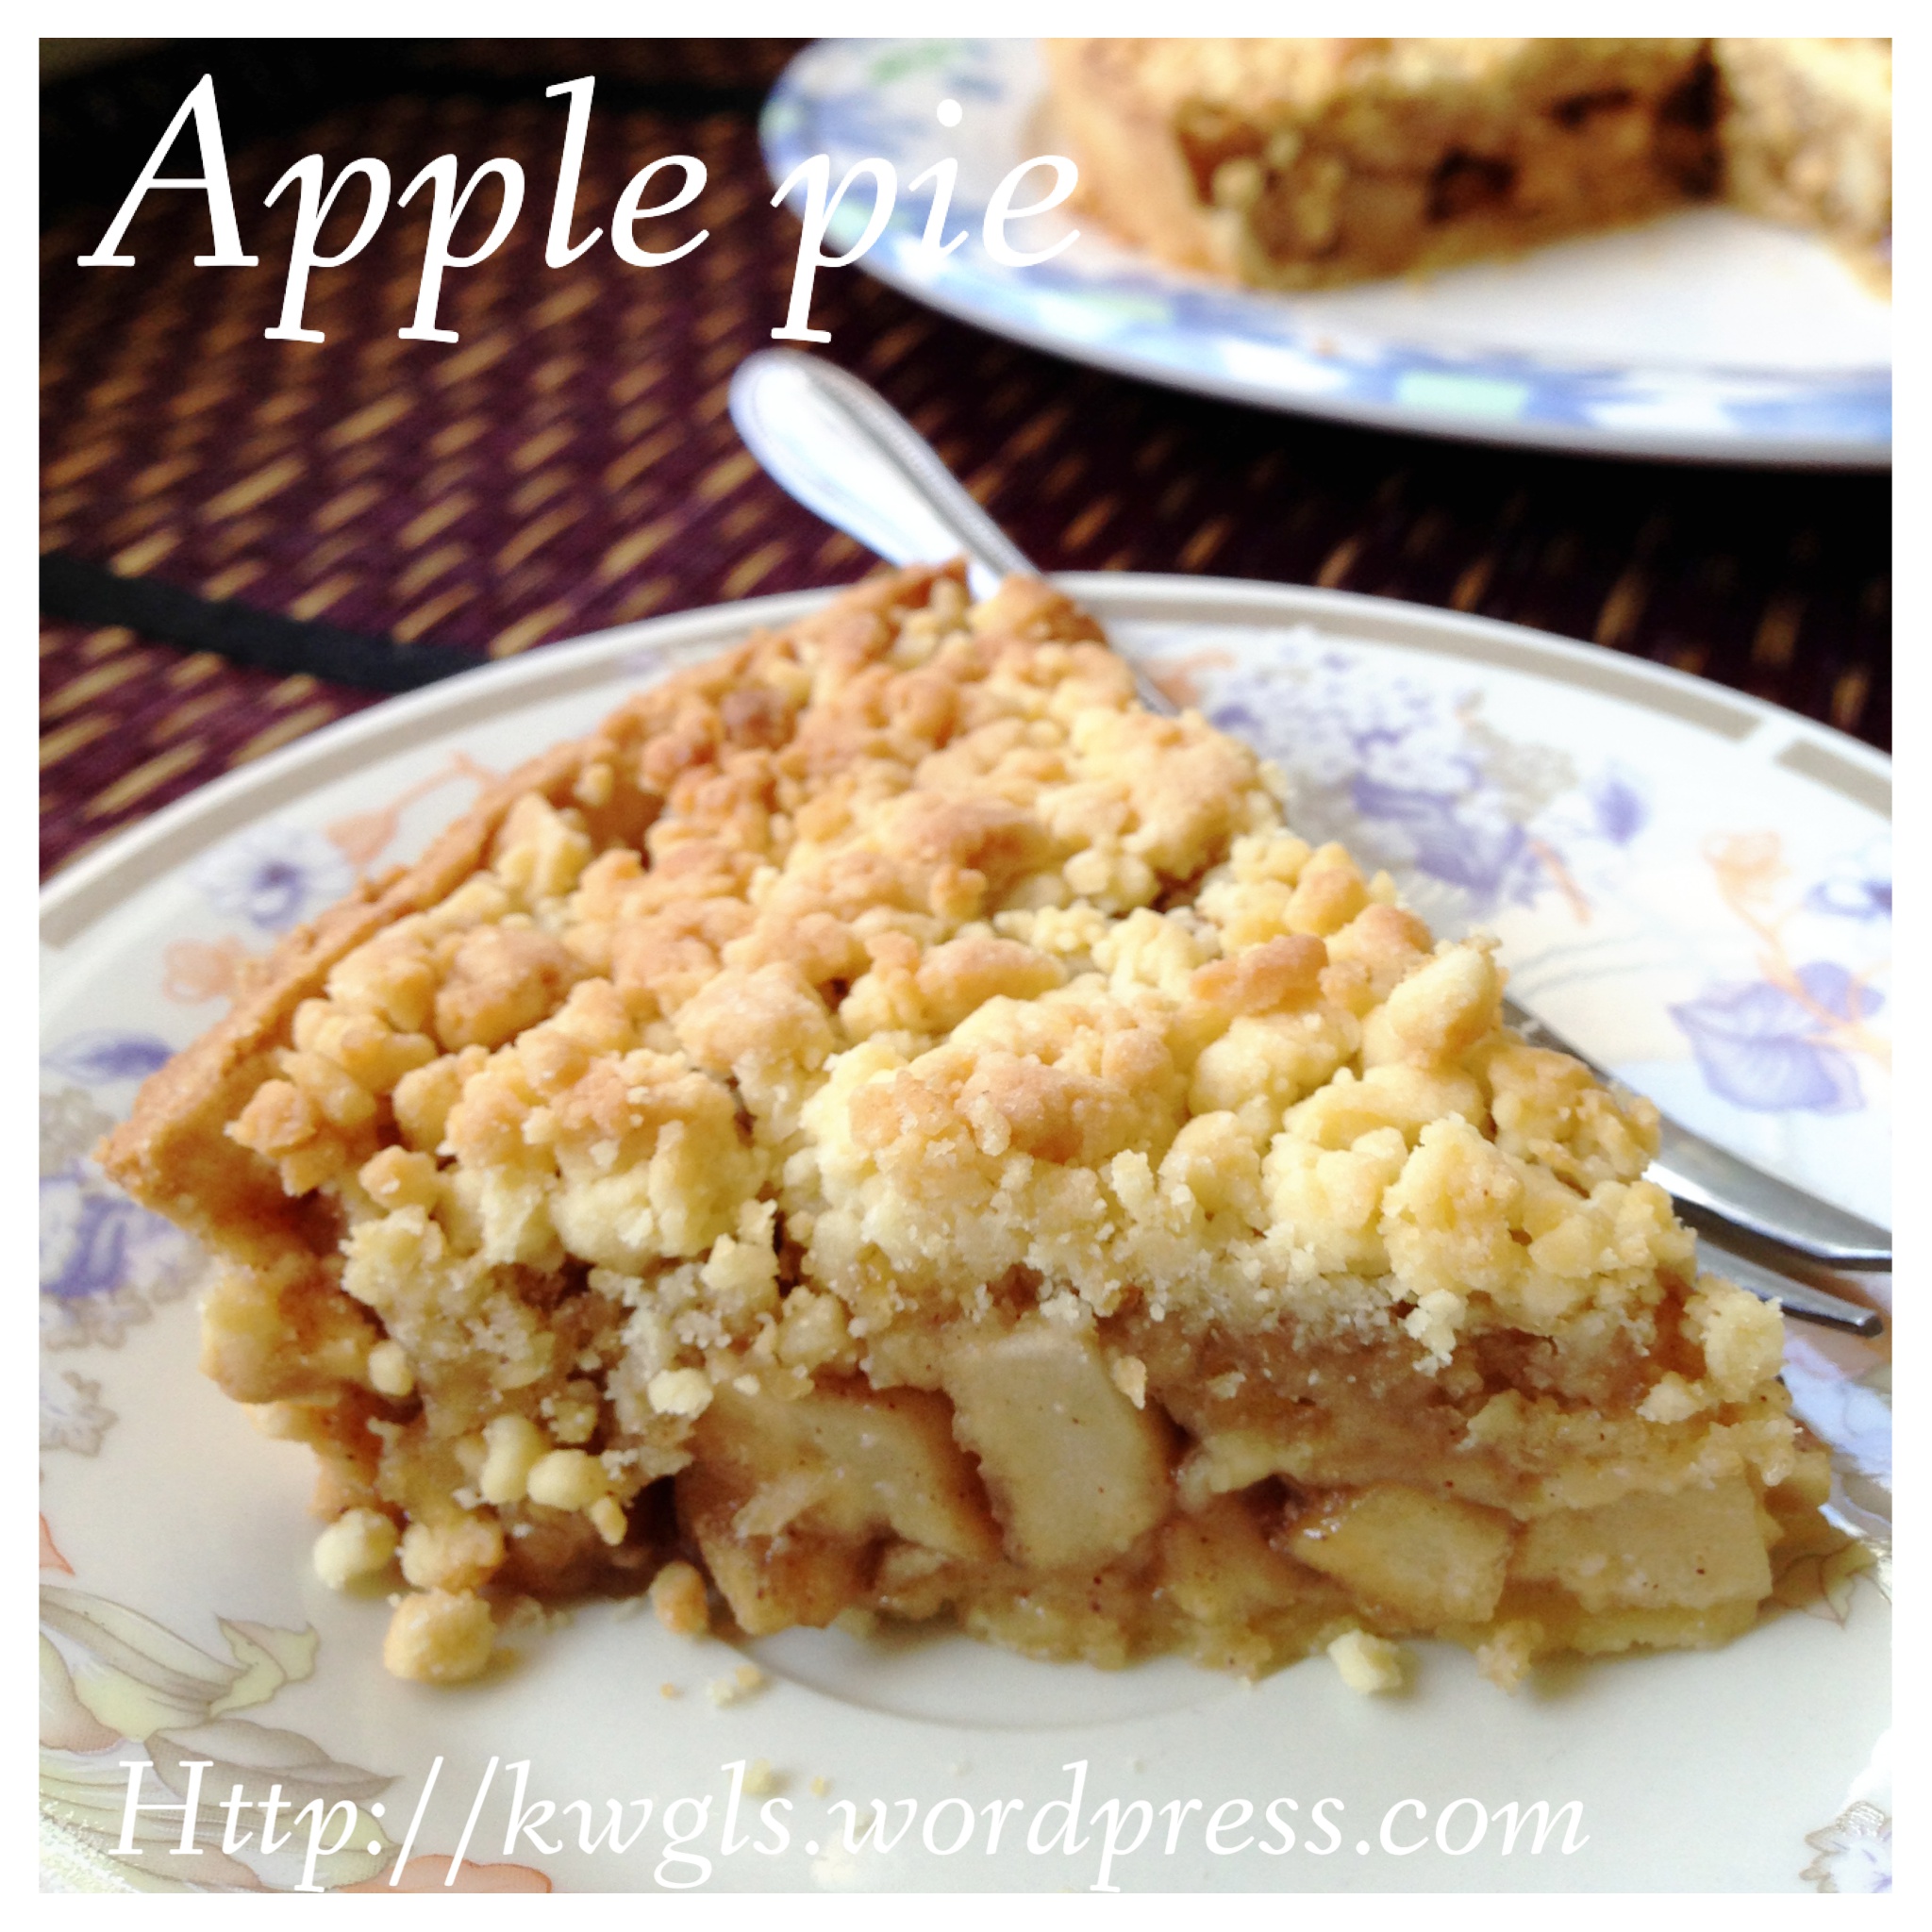
Quantity of apples – The apples stated here are for the preparation of a flat thin pie of about 1.5 cm height. If you like the American version of apple pie, you may want to consider to increase your apples to at least 6 large apples (or even 8 depending on how deep your baking glass dish can take)

STEPS OF PREPARATION

-
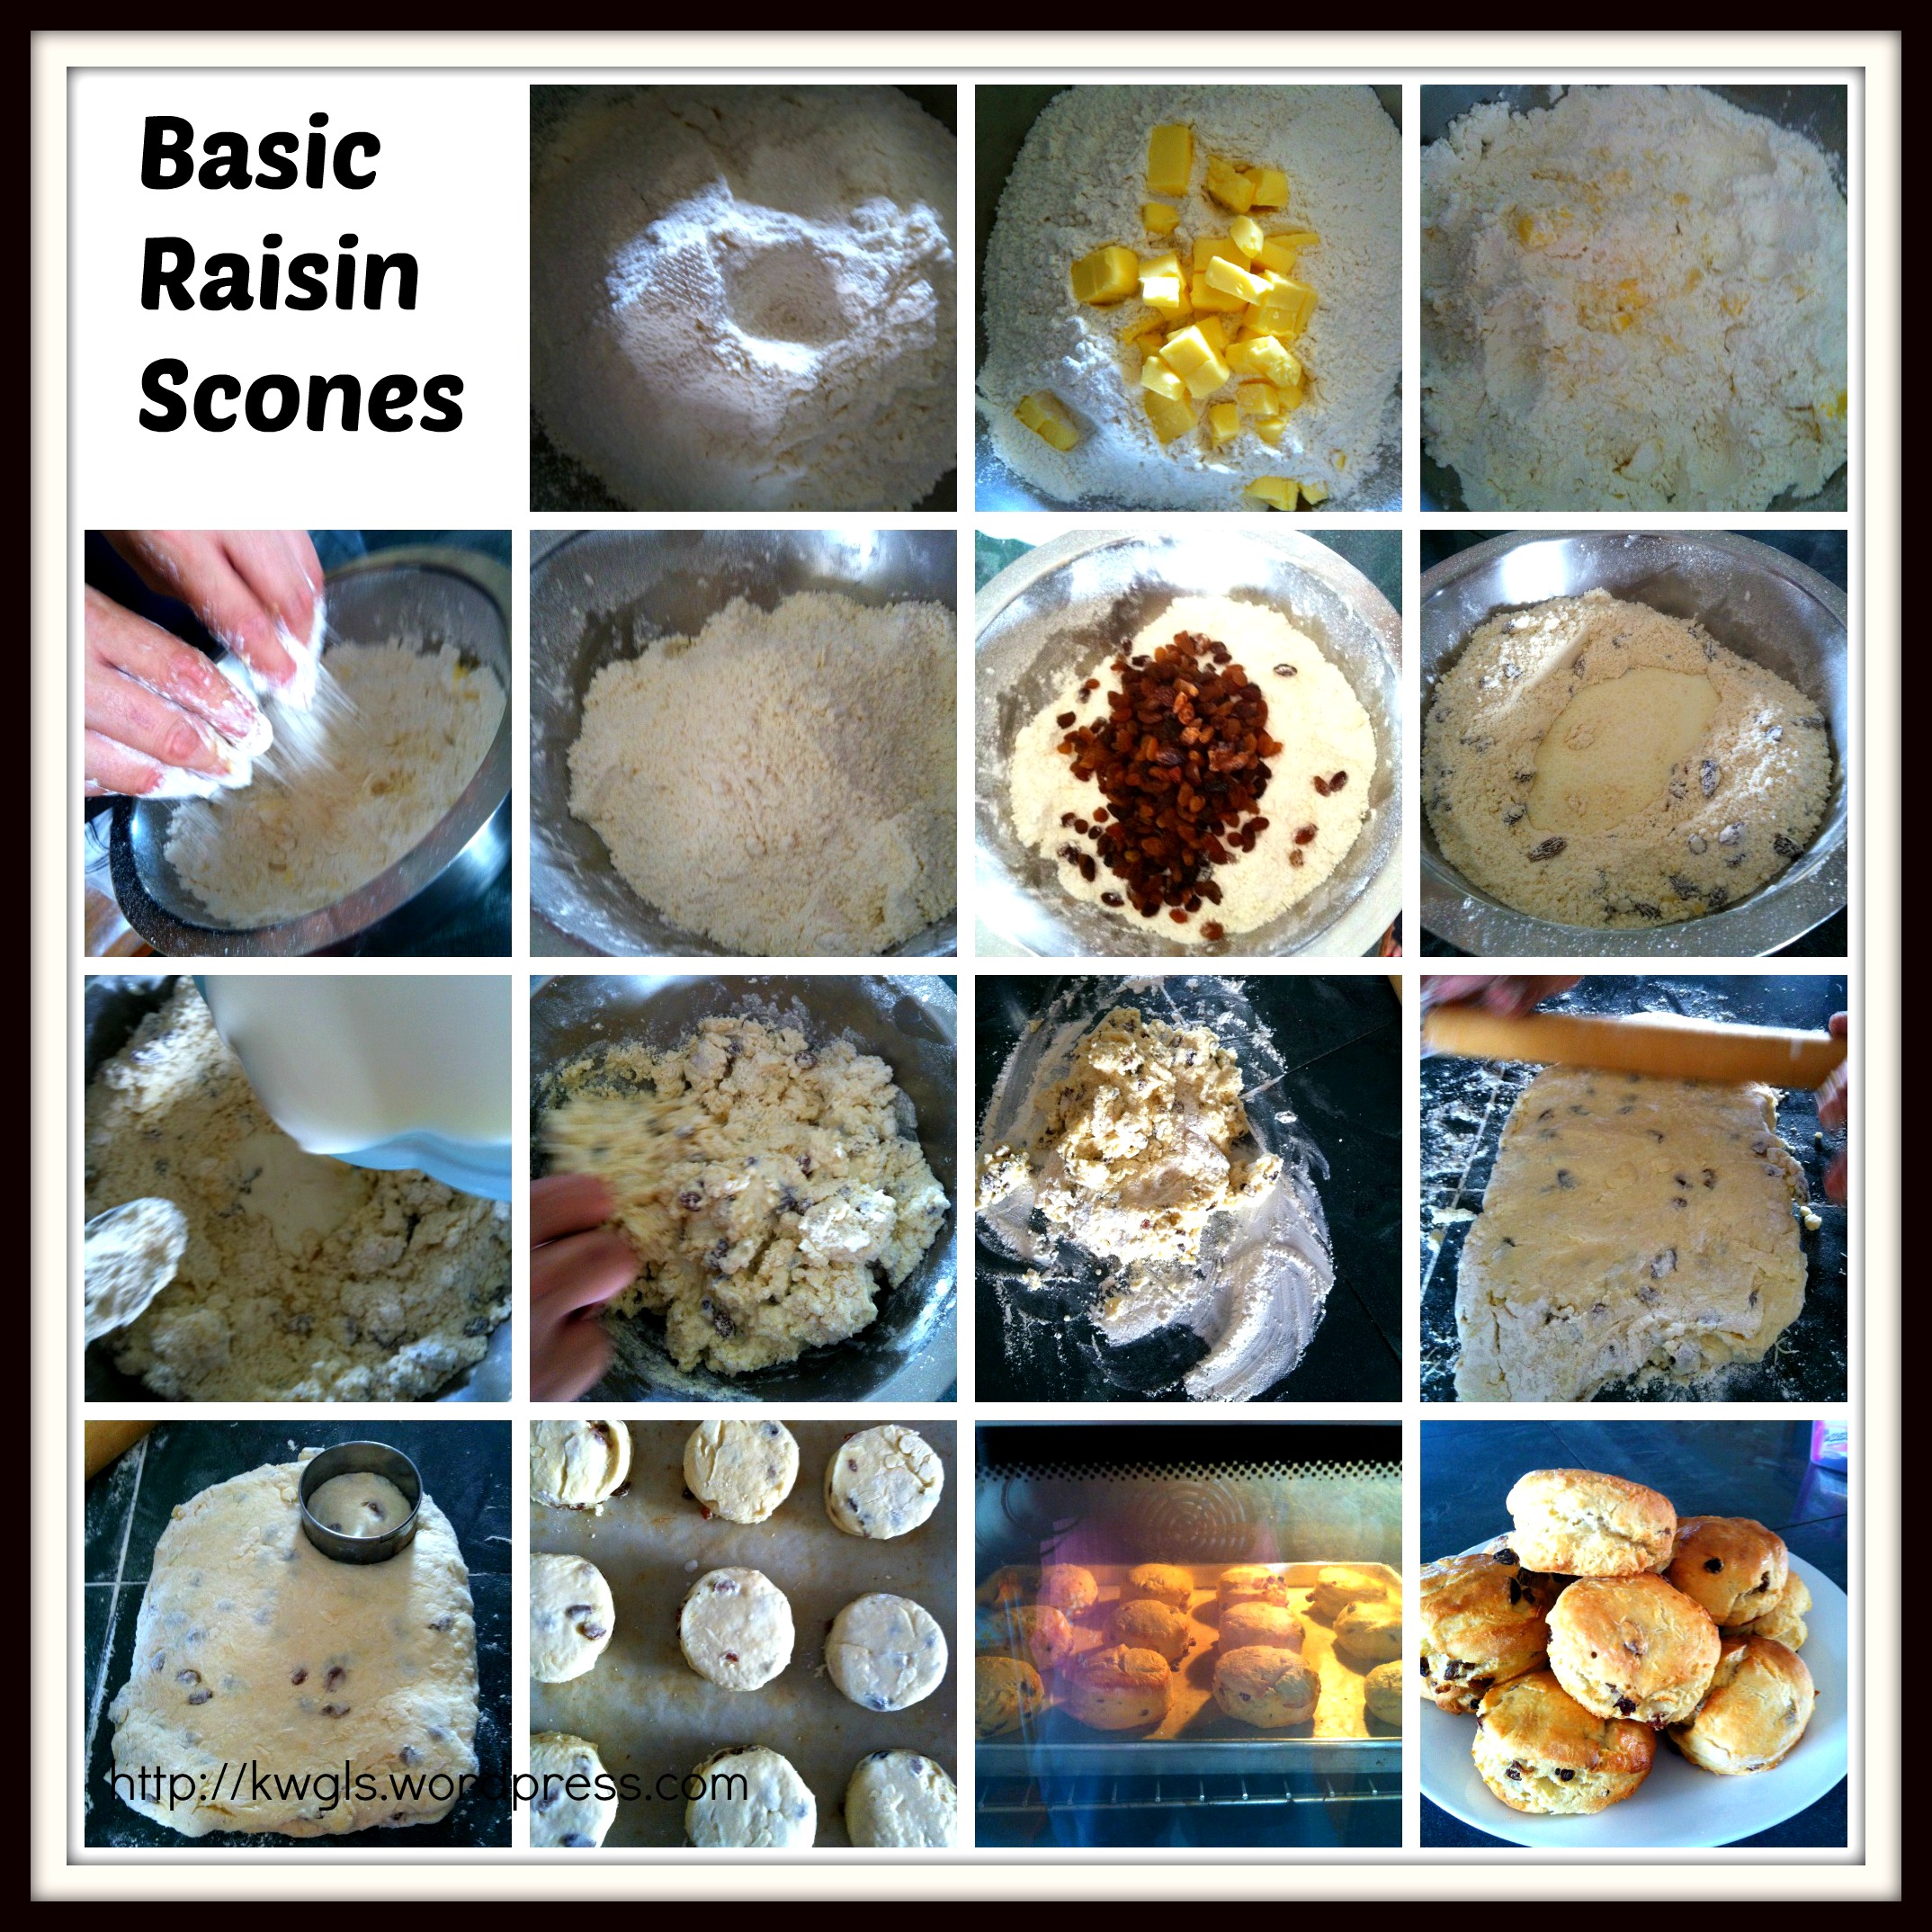
In a big mixing bowl, put butter cubes and sifted plain flour together. Use the finger tips to rub the butter cubes and flours together until it become crumby. Add in sifted icing sugars and continue to rub until well mix.

-
Add lightly beaten eggs and vanilla essence, mix slowly until it become a dough. Put it in the fridge to chill for 20-30 minutes. Note that if you are able to handle soft dough, you can by pass this step.
-
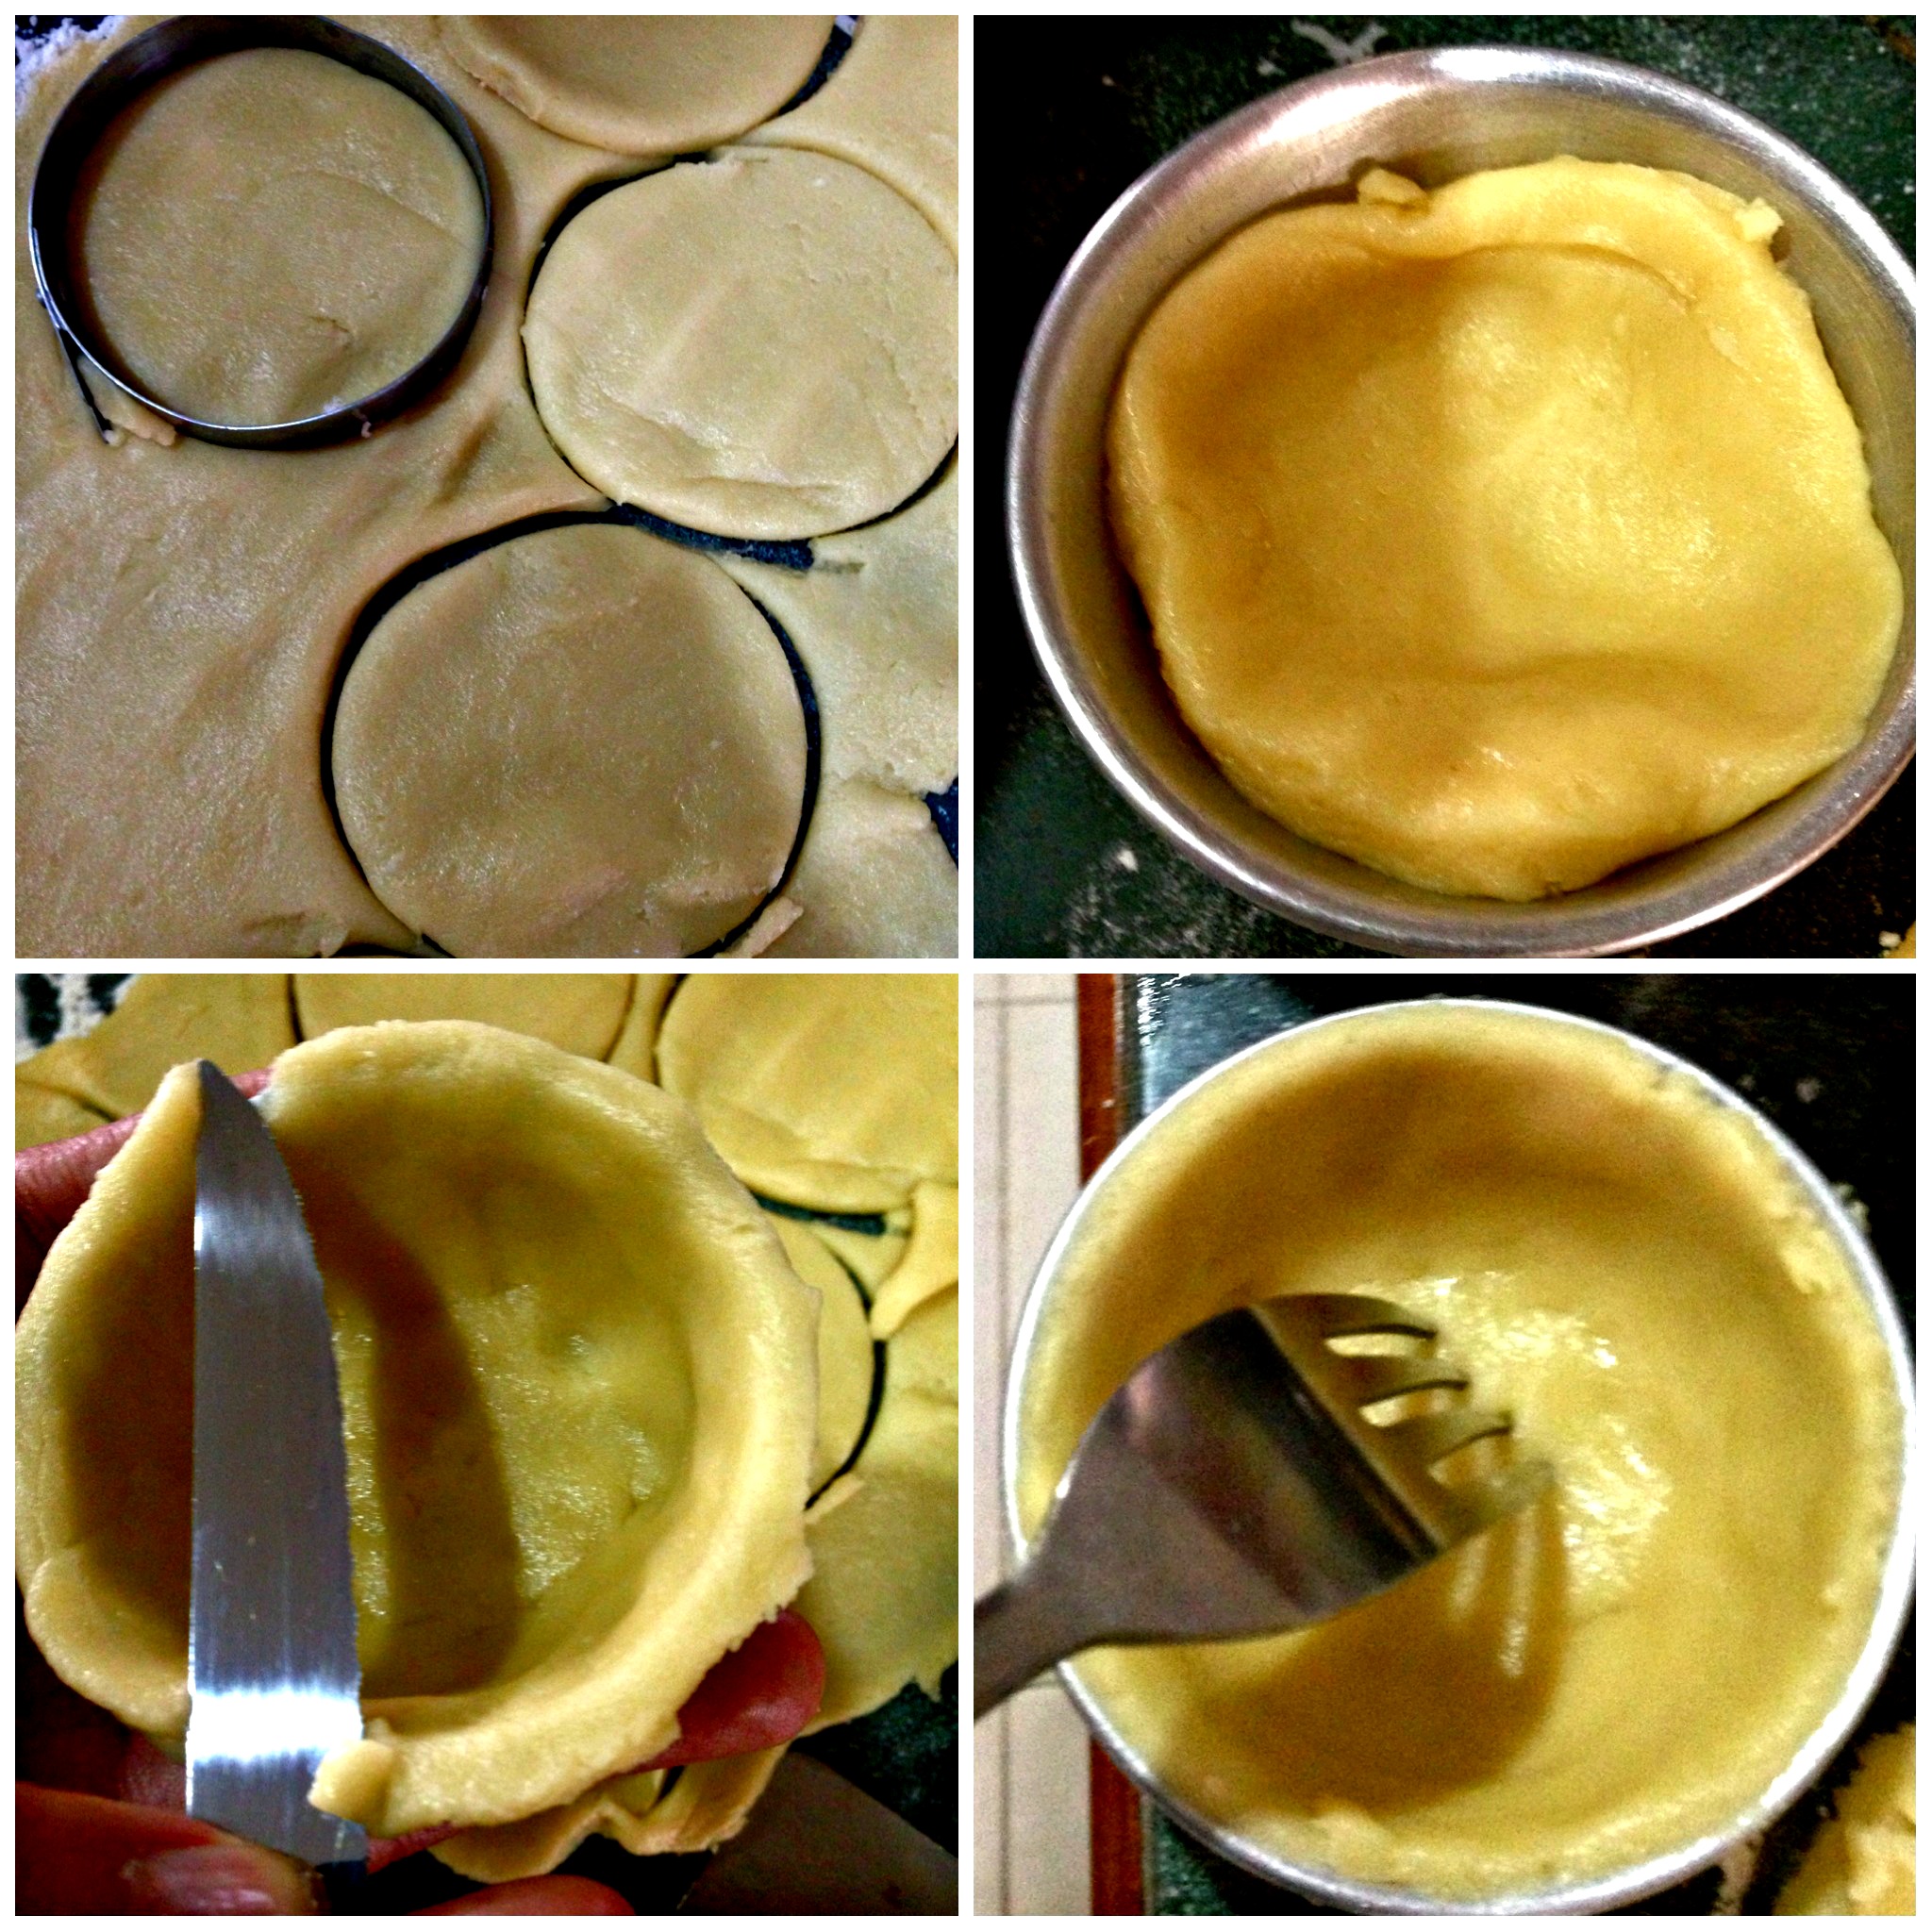
Have a clinging wrap on the table, take the dough from the fridge and place on top of it. Put another clinging wrap on top of the dough. Use a rolling pin to roll it into a flat sheet with about 0.5 cm thickness. Transfer the dough to the pie tin and use you hand to press the dough against the sides and make it as even as possible. Use a fork to make some holes in the dough (optional). Set aside for later use. If you have some left over dough, just keep it to put on top of the apple fillings.

-
In another big mixing bowl, add the sugar and spices to the apple slices. Mix well and pour on top of the pie pastry. Level it. If you have additional pastry left from the making of bottom pastry, your can put on top of the apple fillings.
Note: If you have opt to cover the apple pie with top pastry, cover the pastry on top the apple and make some hole to the let the water vapour escape when the apple is cooked.

-
Bake in the oven at 180 degree Celsius for about 25-30 minutes or when the pie crust turn golden yellow. (Note that this is a thin pie therefore, cooking time is relatively short). Egg wash the top pastry if desired.
-
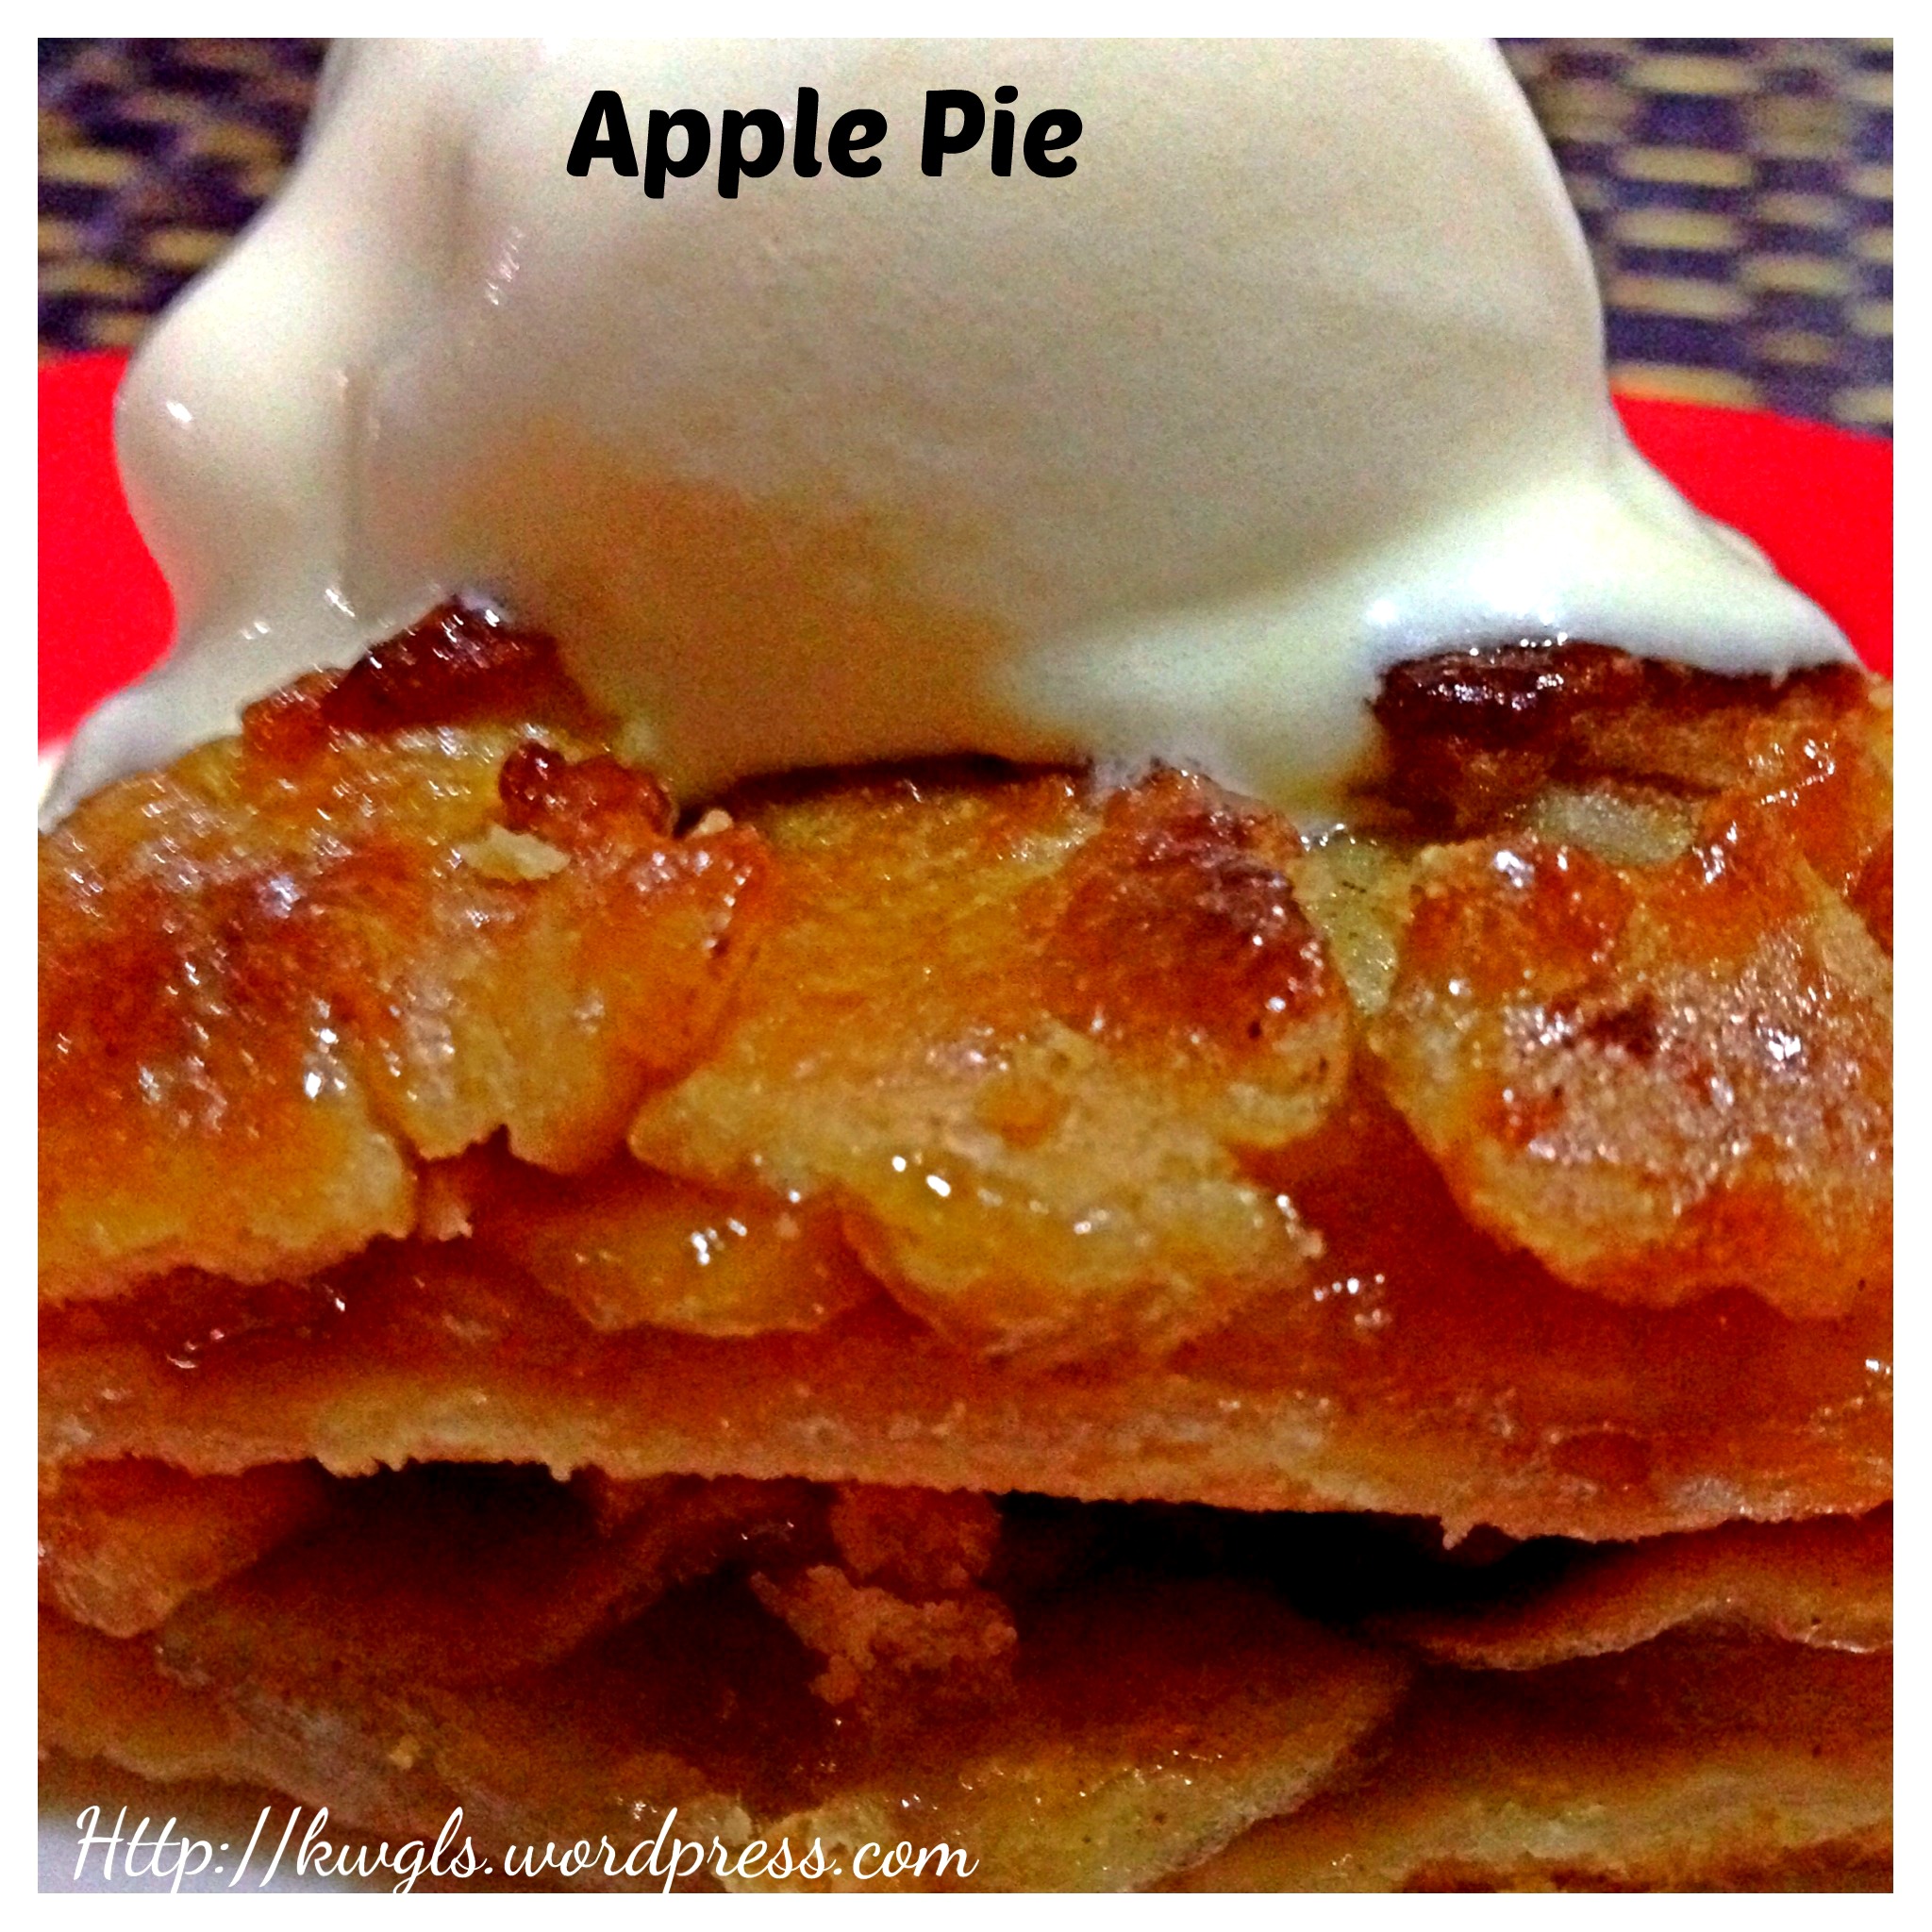
Can be served either hot or cold with sour cream, ice cream or even custards.
CONCLUSIONS
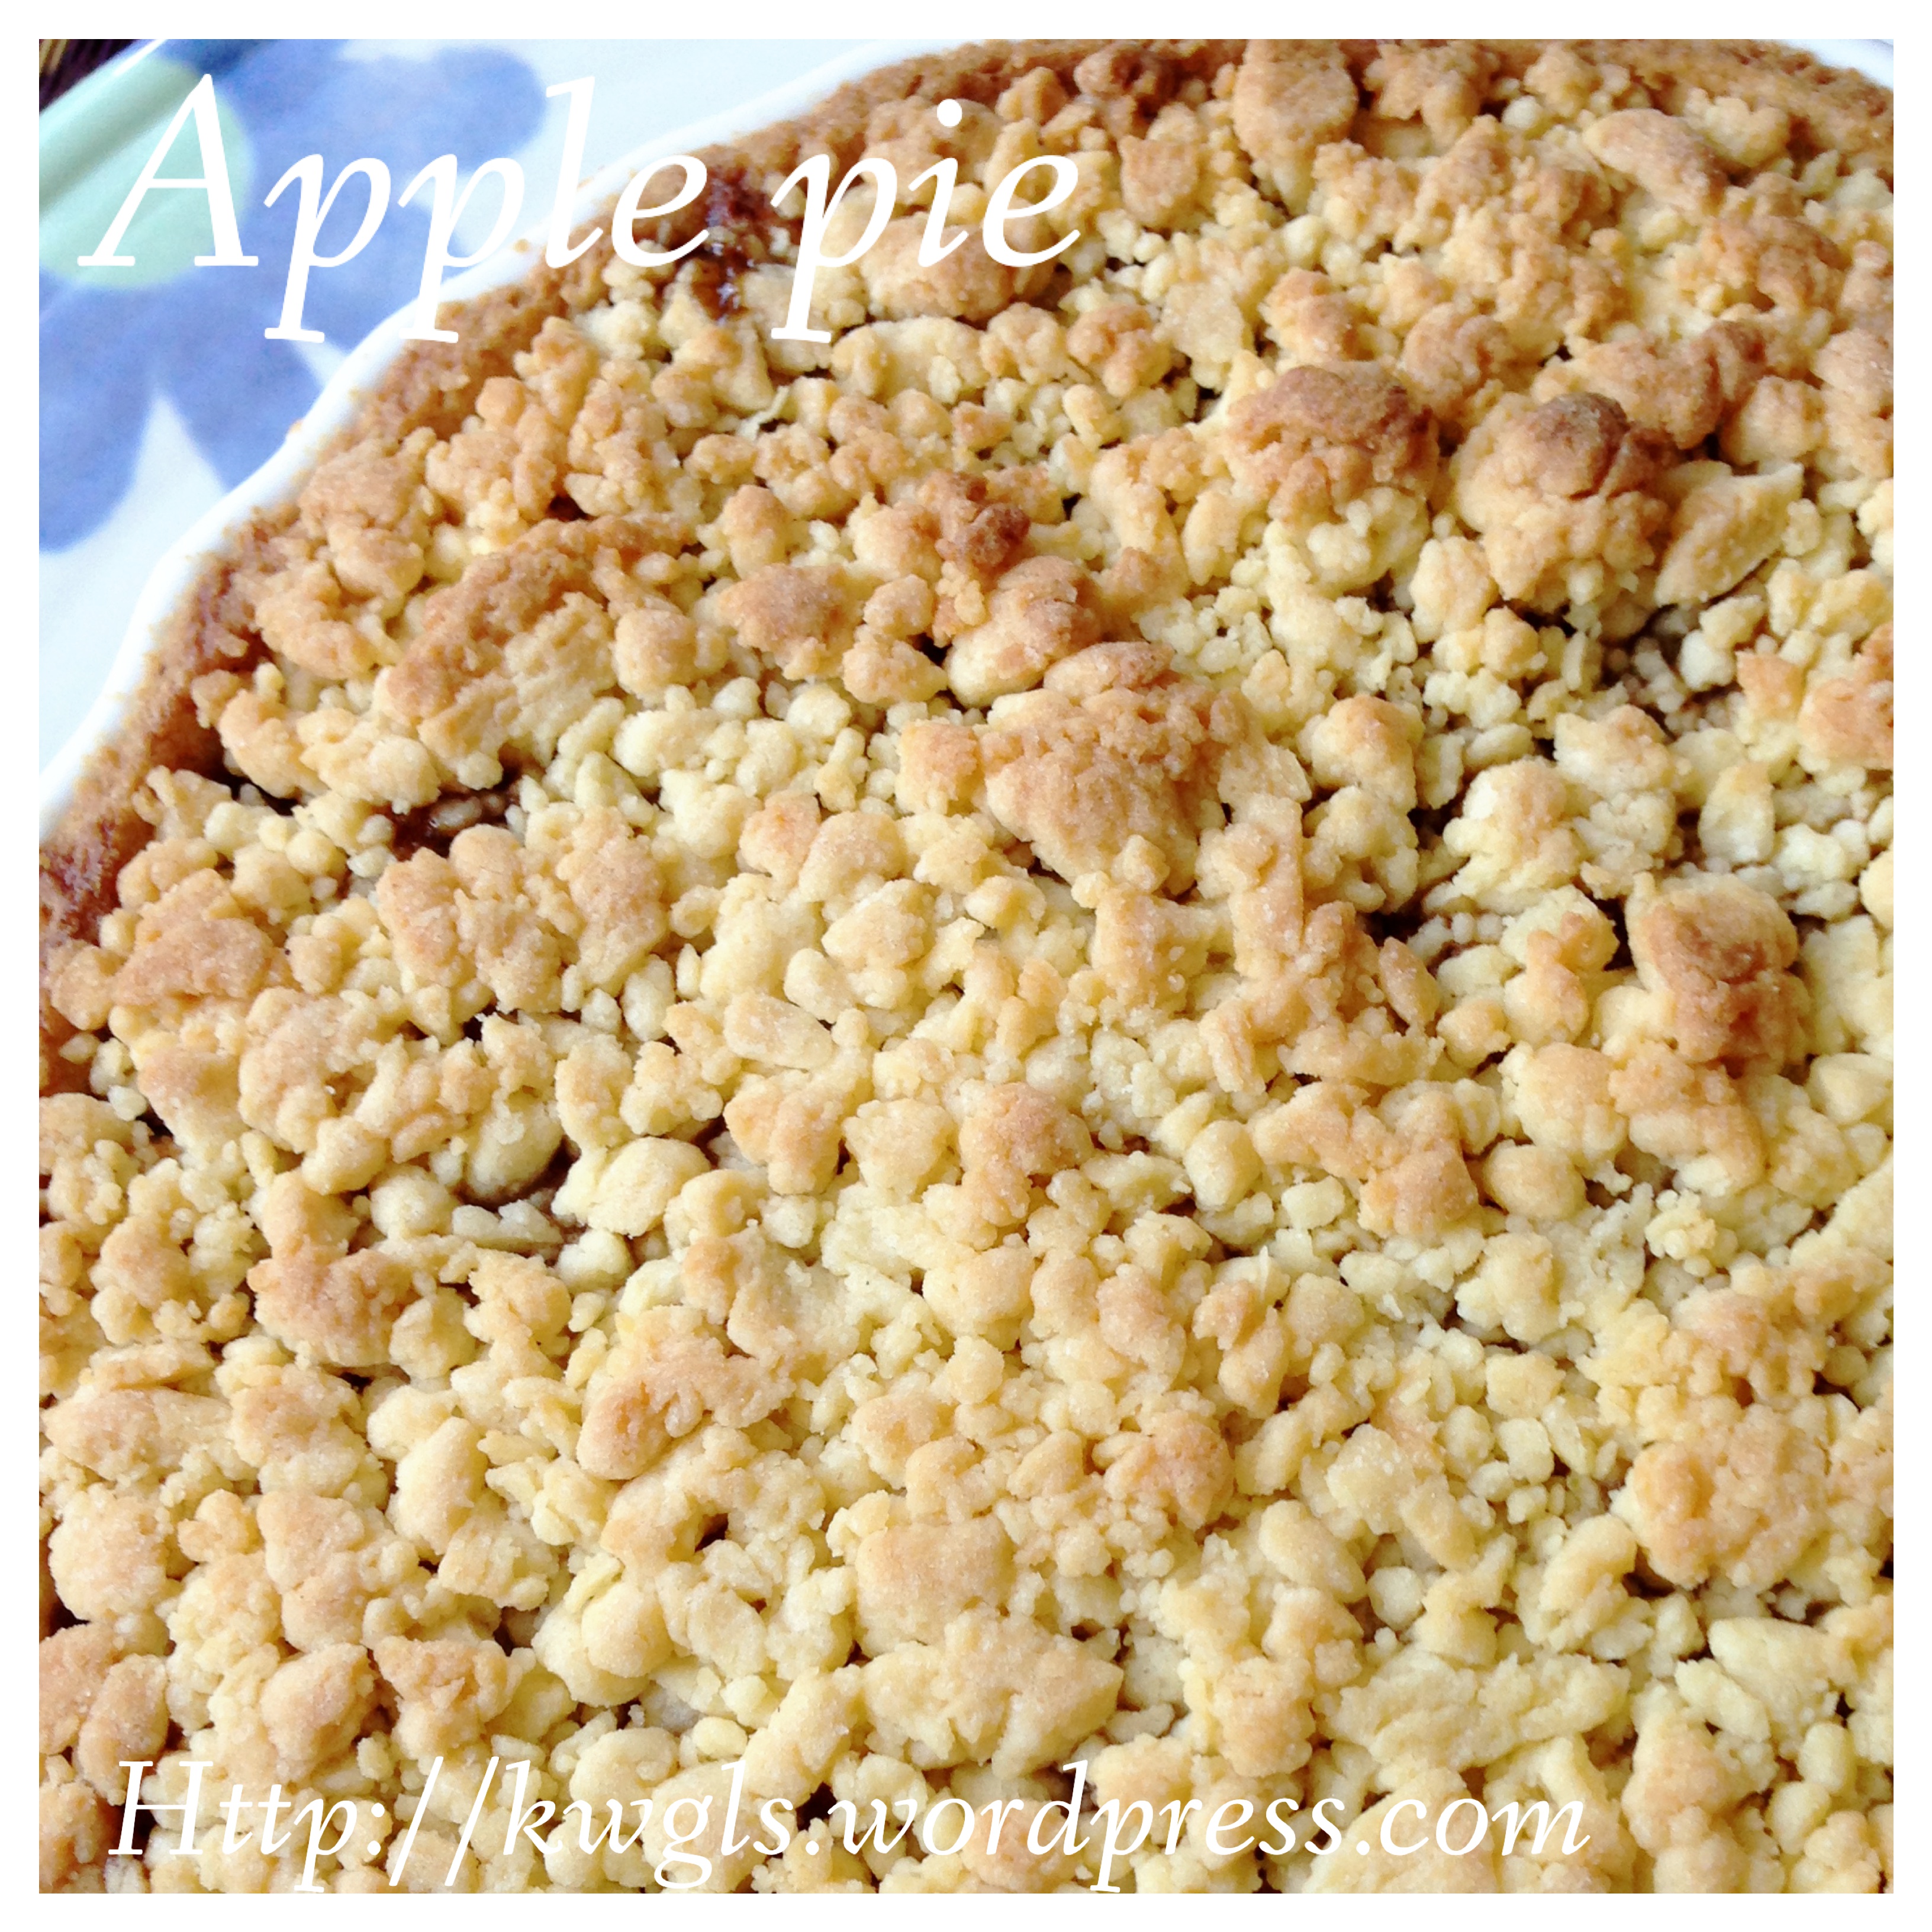
There are many variations of apple pies. Some have top pastry like the American style version. It were usually prepared using a deep glass dish. Some are without top pastry but substituted with bread crumbles and rolled oats as in the Swedish version of apple pies. The French have another version called Tarte Tatin.

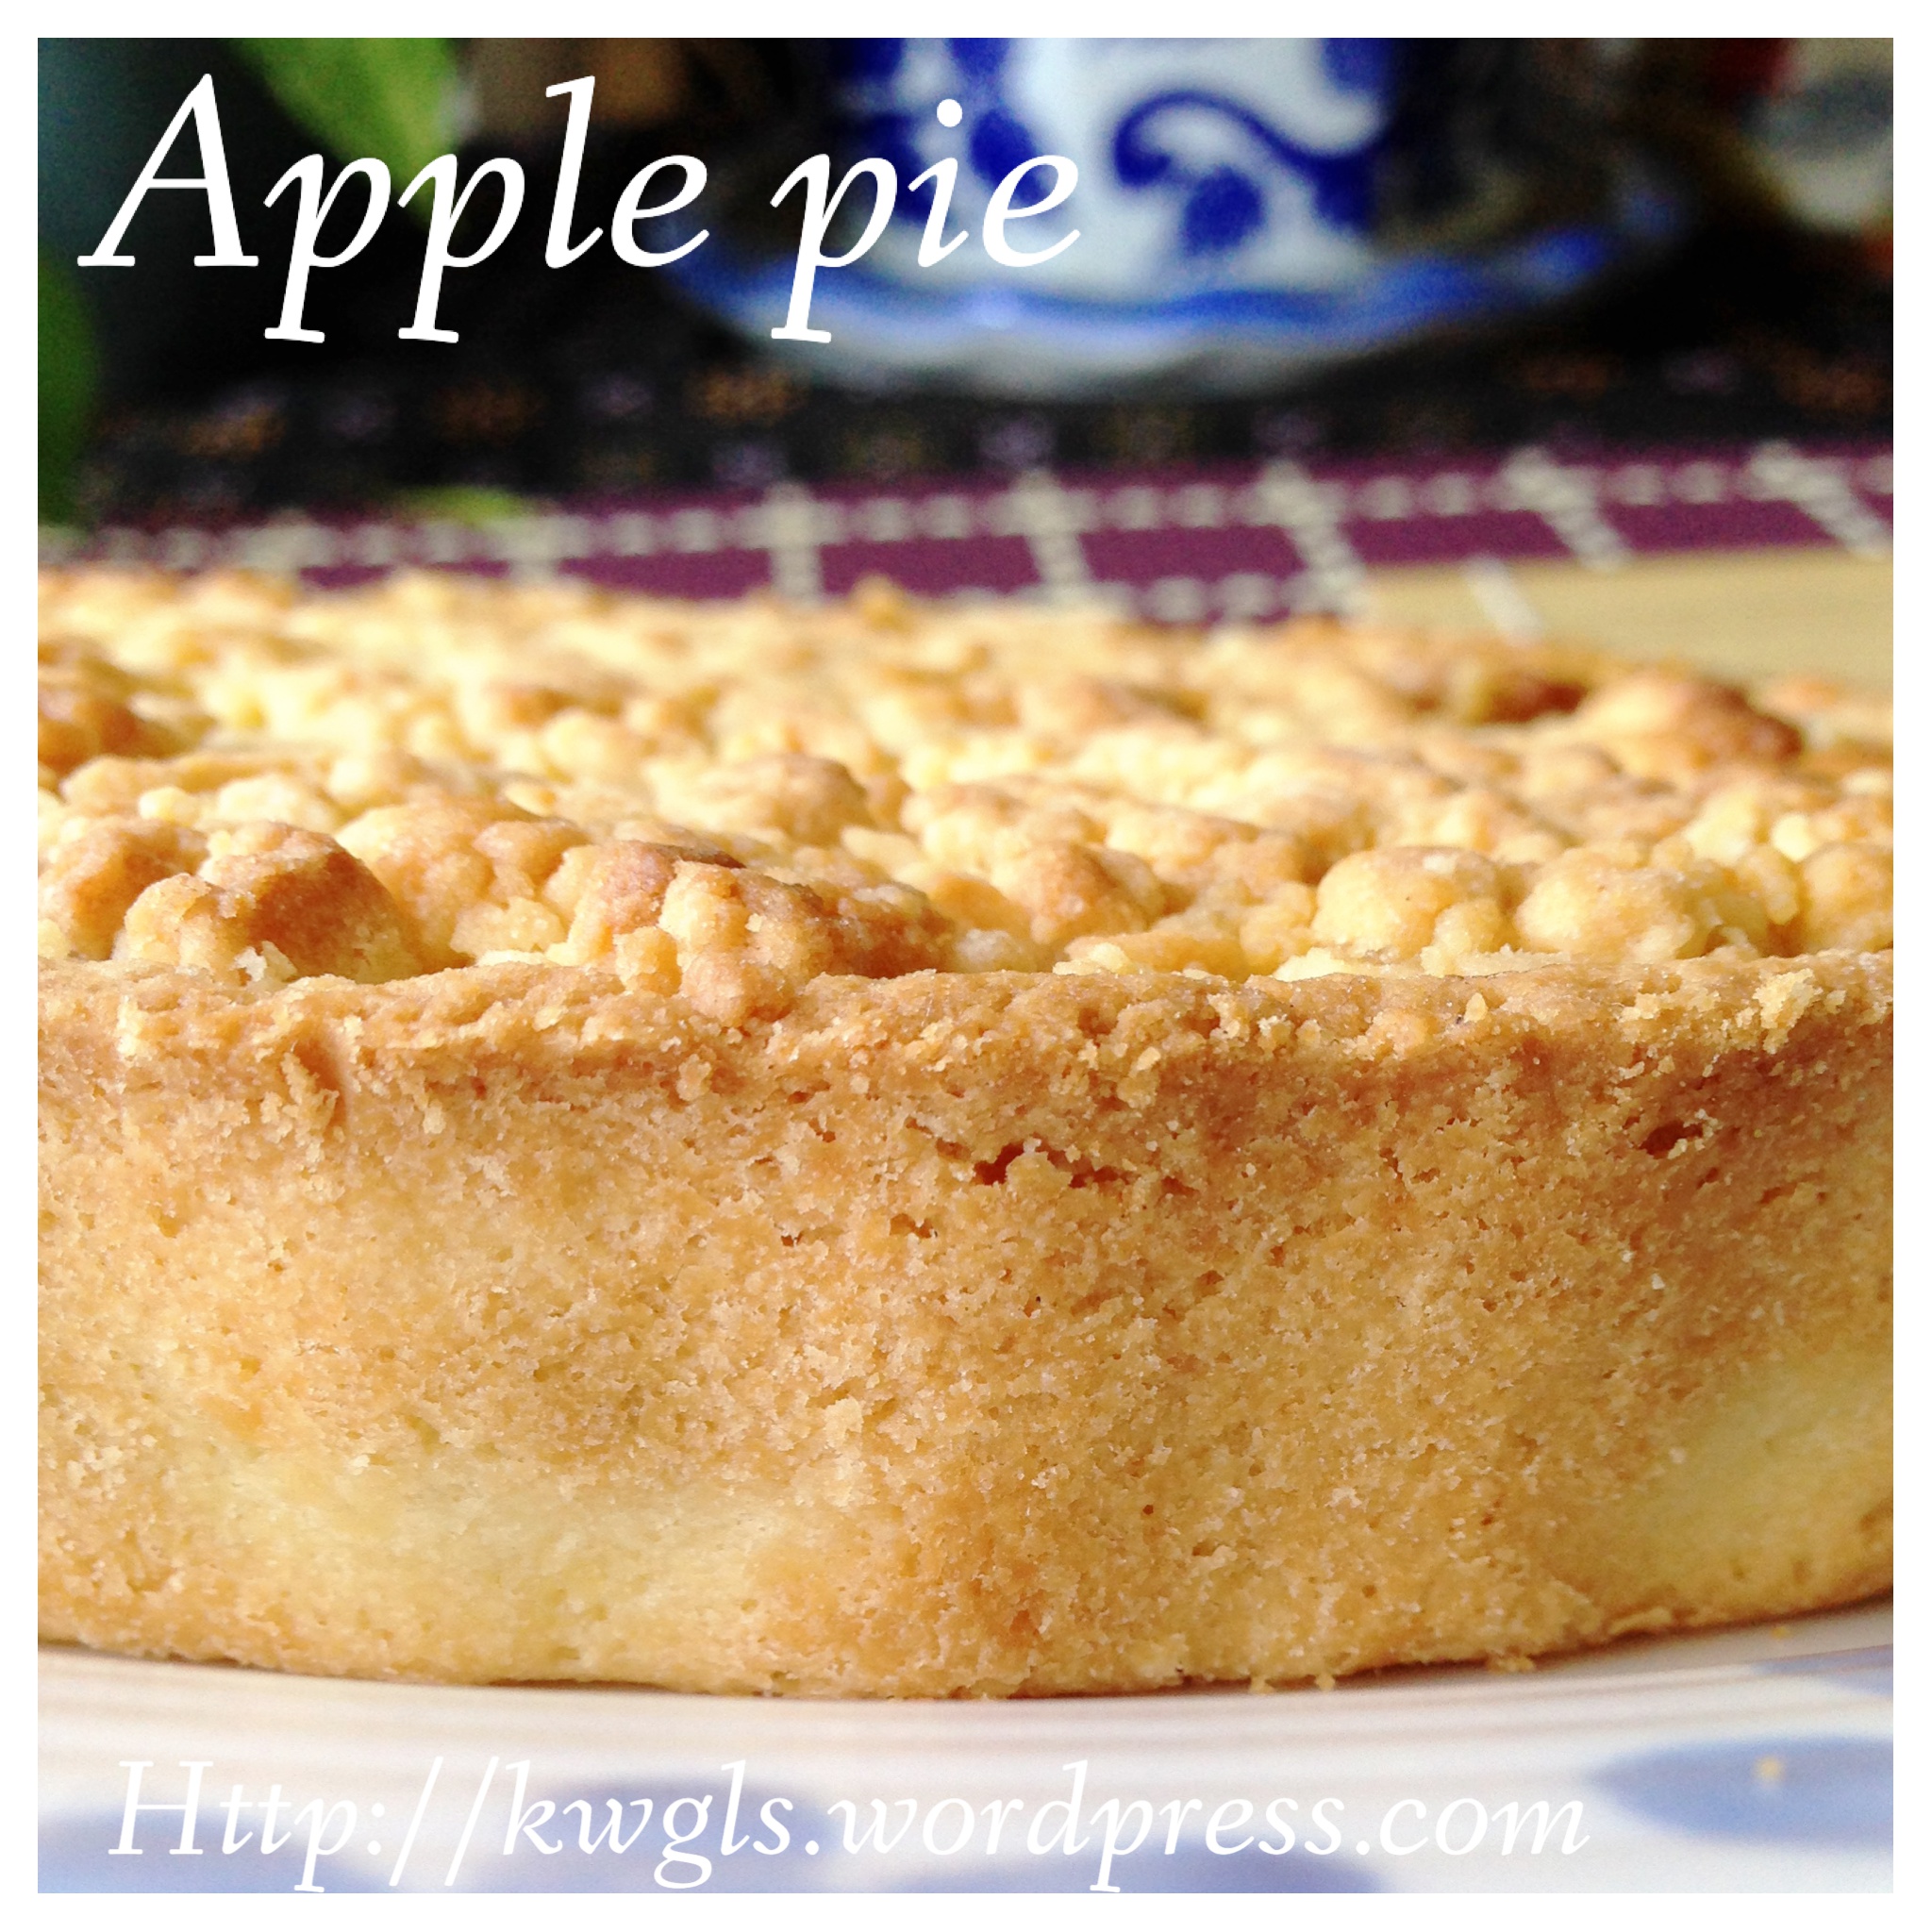
Knowing Asian’s small appetite for Western desserts, I have prepared this pie in a form of thin slice. Both pastry and apple filling are rather thin as compared to the Western version. And if the diner is of big appetite, he can just opt to have 2 slices at the same time……

GUAI SHU SHU | Guai Shu Shu is a “shu shu” that is “guai”….
-
For more recipes, you can refer to my RECIPE INDEX (updated as at 15 October 2014) here and you can follow me at PINTEREST or visit the blog’s FACEBOOK PAGE to keep abreast of my future posts.
-
If you are a Pinterest user and you are interested to have more recipes, you can join or follow this Pinterest Board set up by me where there are more than 2600 recipes worldwide and pinned by various bloggers: FOOD BLOGGERS AND FOODIES UNITED PINTEREST BOARD.


 (
(


![coverlow-final[5]](https://kwgls.wordpress.com/wp-content/uploads/2015/01/coverlow-final5.jpg?w=484&h=676 "coverlow-final[5]")


 Source :
  Source:


")
")